Laser Cutters

Summary

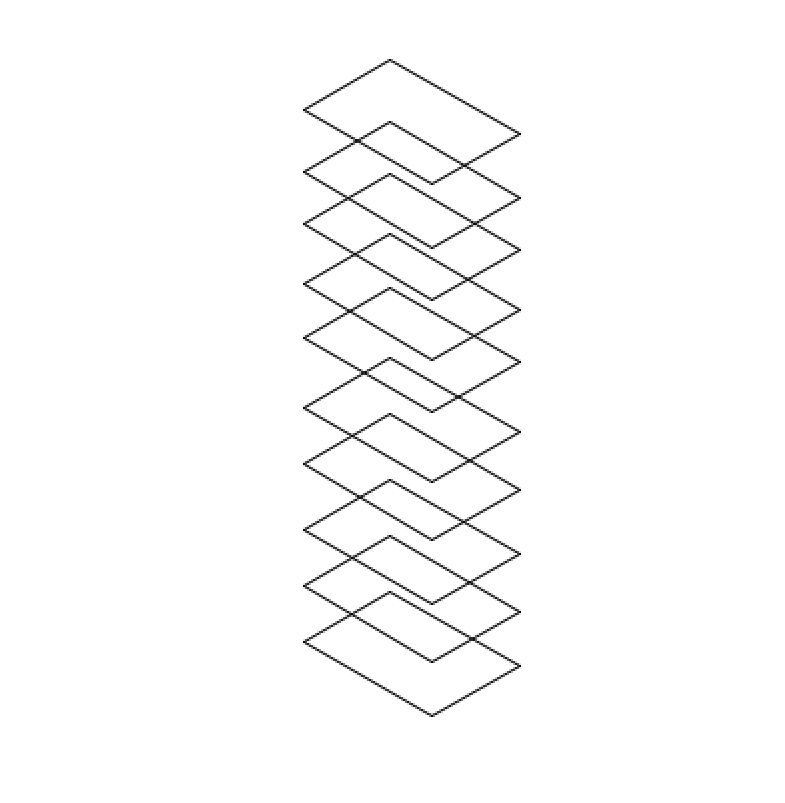
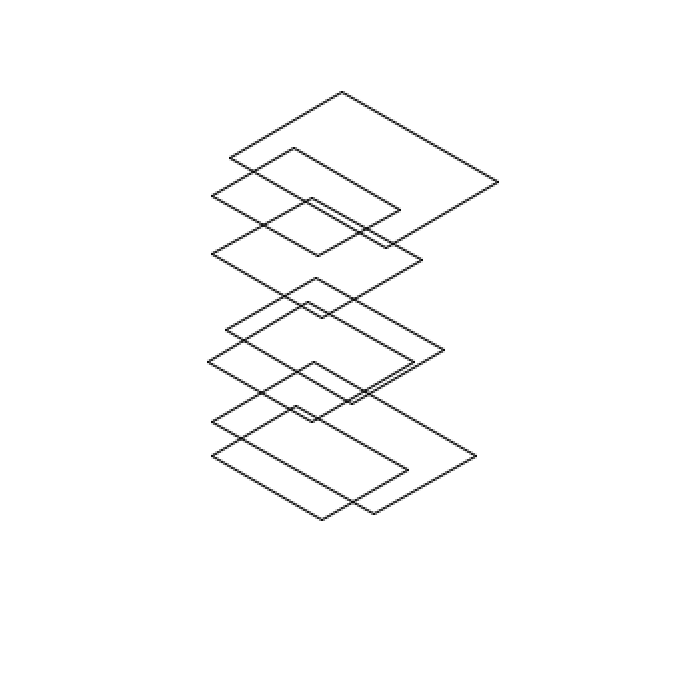
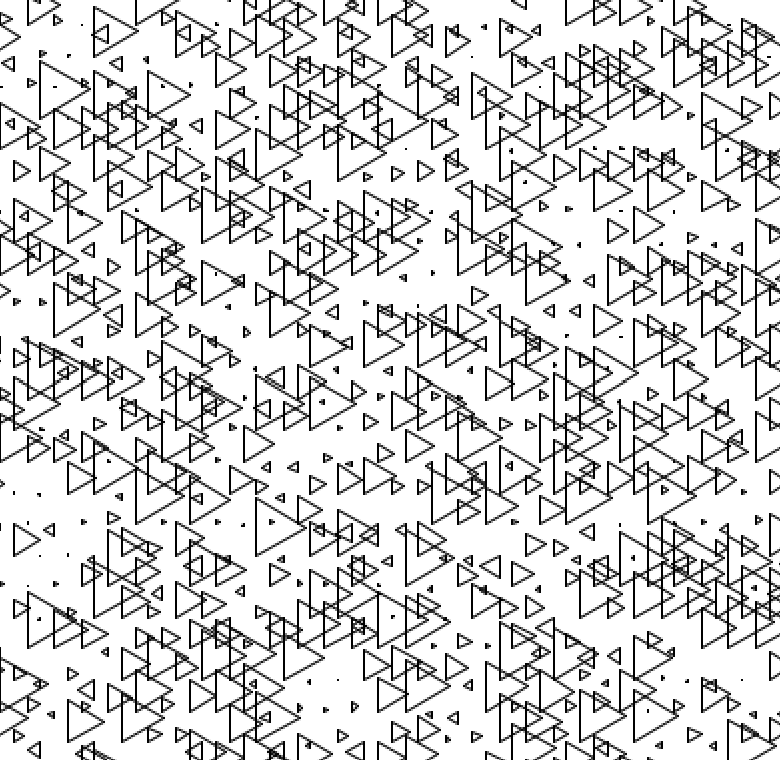
For this assignment, I used Processing (Java) to generate three different designs. Two of these designs were then fabricated physically using a laser cutter.

Process

Step 1: Coding

Using the exercises from the lectures, specifially the honeycomb and orthographic stack, I implemented my own parameters and ideas.

Step 2: Parameterization

Trying out a wide variety and intensity of parameter values. I arrived at designs that I liked/ would look the best once laser engraved/cut.

Step 3: Physical Cutting

I used the ITLL lasers to bring my generations to life.

Designs

Design 1: Honeycomb

Processing Code


import Turtle.*;
import processing.svg.*;

Turtle t;
boolean recording = false;

void setup() {
    size(700, 700);
    noLoop(); // Prevent continuous drawing
    drawPattern();
}

void drawPattern() {
    background(255);
    t = new Turtle(this);
    t.setHeading(30);
    
    float l = 25; // Side length
    int cols = (int) ceil(width / (3 * l));
    int rows = (int) ceil(height / (sqrt(3) * l * 0.5));

    for (int row = 0; row < rows; row++) {
        for (int col = 0; col < cols; col++) {
            t.penUp();
            float x = col * (3 * l) + (row % 2) * (1.5 * l);
            float y = row * (sqrt(3) * l * 0.5);
            
            if (x < width && y < height) {
                t.goToPoint(x, y);
                t.penDown();
                float randomL = random(-8, 8);

                for (int side = 0; side < 6; side++) {
                    t.forward(l - randomL);
                    t.right(60);
                }
            }
        }
    }
}

void keyPressed() {
    if (key == 's') {
        String fileName = "output/honeycomb-" + getDateString() + ".svg";
        beginRecord(SVG, fileName);
        drawPattern();
        endRecord();
        println("Saved to file: " + fileName);
    }
}

String getDateString() {
    return year() + "_" + month() + "_" + day() + "-" + hour() + "_" + minute() + "_" + second();
}


Images
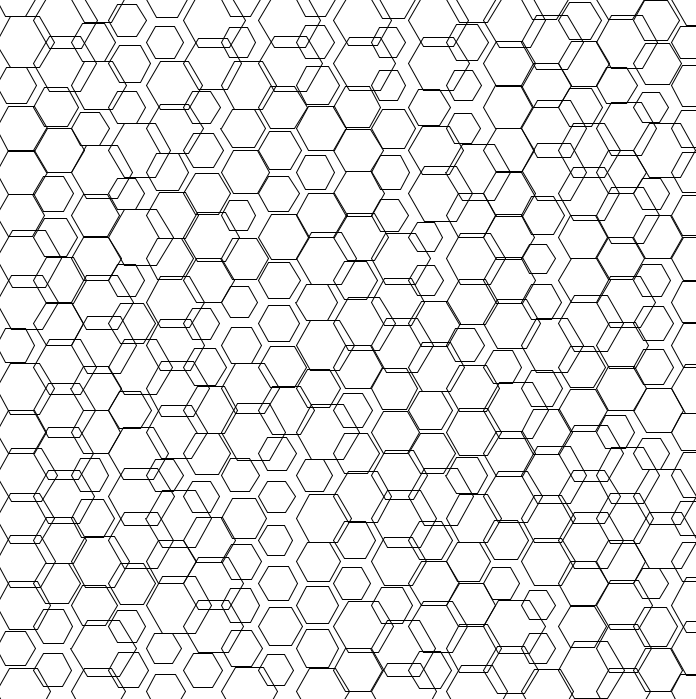


__________________________________________________________________________________________________________________

Design 2: Othographic Stack

Processing Code


import Turtle.*;
import processing.svg.*;

Turtle t;
boolean recording = false;

void setup() {
    size(700, 700);
    noLoop();
    drawPattern();
}

void drawPattern() {
    background(255);
    t = new Turtle(this);
    
    float startX = 300;
    float startY = 300;
    int numRectangles = int(random(5, 15));

    for (int i = 0; i < numRectangles; i++) {
        float width = random(55, 95);
        float height = random(40, 70);
        float spacing = random(10, 45);
        float xWobble = random(-10,10);
        
        drawRectangle(startX, startY, width, height);
        startY += spacing;
        startX += xWobble;
    }
}

void drawRectangle(float x, float y, float w, float h) {
    t.penUp();
    t.goToPoint(x, y);
    t.penDown();
  
    t.right(60);
    t.forward(h);
    t.right(60);
    t.forward(w);
    t.right(120);
    t.forward(h);
    t.right(60);
    t.forward(w);
    t.right(60);
}

void keyPressed() {
    if (key == 's') {
        String fileName = "output/orthographic_stack-" + getDateString() + ".svg";
        beginRecord(SVG, fileName);
        drawPattern();
        endRecord();
        println("Saved to file: " + fileName);
    }
}

String getDateString() {
    return year() + "_" + month() + "_" + day() + "-" + hour() + "_" + minute() + "_" + second();
}


Images


__________________________________________________________________________________________________________________

Design 3: Triangles

Processing Code


import Turtle.*;
import processing.svg.*;

Turtle t;
boolean recording = false;

void setup() {
    size(700, 700);
    noLoop();
    drawPattern();
}

void drawPattern() {
    background(255);
    t = new Turtle(this);
  
    float l = random(5, 15);
    int cols = (int) ceil(width / (1.5 * l)); 
    int rows = (int) ceil(height / (sqrt(3) * l));

    for (int row = 0; row < rows; row++) {
        for (int col = 0; col < cols; col++) {
            t.penUp();
            float x = col * (1.5 * l) + (row % 2) * (0.75 * l);
            float y = row * (sqrt(3) * l);

            if (x < width && y < height) {
                t.goToPoint(x, y);
                t.penDown();
                float randomSize = random(-20, 20);
                drawTriangle(l + randomSize);
            }
        }
    }
}

void drawTriangle(float size) {
    for (int i = 0; i < 3; i++) {
        t.forward(size);
        t.right(120);
    }
}

void keyPressed() {
    if (key == 's') {
        String fileName = "output/triangles-" + getDateString() + ".svg";
        beginRecord(SVG, fileName);
        drawPattern();
        endRecord();
        println("Saved to file: " + fileName);
    }
}

String getDateString() {
    return year() + "_" + month() + "_" + day() + "-" + hour() + "_" + minute() + "_" + second();
}


Images


Laser-Cut Objects

The code brought to life:


Laser-Cut Object for Design 1

Laser-Cut Object 1

Laser-Cut Object for Design 2

Laser-Cut Object 2

Conclusion

This project allowed me to explore the intersection of computational design and physical fabrication through laser cutting. The process reinforced key skills in generative design, vector preparation, and fabrication techniques. If I were to do this again, I would play around with the laser's intensity to create a more consistent and purposeful design with the hexagons that remain stuck in the wood. Additionally, I would focus more attention is exporting very nice and clean SVGs, for a finished design with straighter lines.